A Basic Table Turned into Footstools
Happy Monday to you all! I know it's been a while since I posted on furniture re-dos. I have been so wrapped up in sewing projects over the last little bit, that I kind of forgot how fun it is to transform an old piece of furniture:o)
Today I want to show you how I gave a table a new look....a REALLY new look!
When we built our house, we had all of the bathroom sinks raised. That poses a problem when you have little munchkins running around the house. They have a hard time getting to the sink to wash their little hands or brush their teeth.
My children literally have monkey toes. They climb those cabinets like nobody's business to get to that faucet. I knew something needed to be done before our cabinet doors started falling off of the hinges.
I have always wanted to get the kids step stools, but I'm cheap, so I never bought any.
So what do you do when you need something, but don't want to pay for it? You use what you have, and make it work.
I bought this table for $2 from my friend's grandfather. I didn't know what I would do with it because of it's odd shape, so it sat in the garage for A LONG TIME.
I finally got the idea to turn it into footstools for the kids. The legs were perfect..in length and in size.
I disassembled the table using a hand saw. Thank goodness I didn't use the table saw. There was a big metal rod down the center of those legs. I was able to saw down to the rod, and then unscrew them apart.
I didn't want the finials, so I had to figure out how to re-attach the legs. I measured and mark a spot near the original holes.
I screwed all the screws in where they barely broke the surface on the bottom side.
I laid the board on it's side, and attached all of the legs.
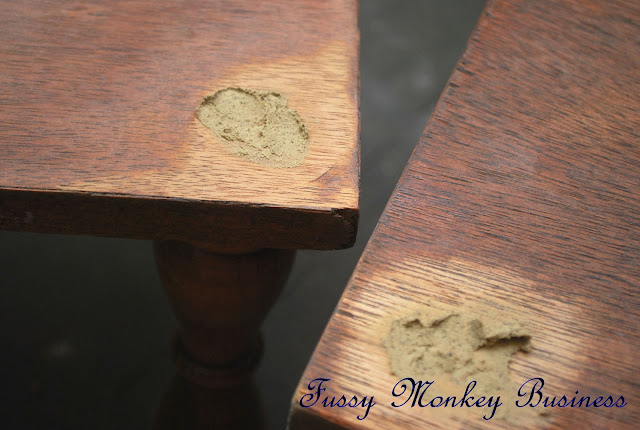
Since there were 4 gaping holes in each stool, I filled them with wood putty, and let them dry for a few hours. After it had dried, I sanded the spots down, and spray painted each stool.
The finishing touch was to add their initials. I used some wooden letters I had on hand and traced them onto vinyl, and cut them out.
Very easy, very inexpensive, and very functional.
To save the cabinet door fronts, I added some foam pads to the backside.
Now my children's little monkey toes can rest easily on their new stools!!
This project was featured here:


Comments
Post a Comment